Cloning an irreplaceable antique
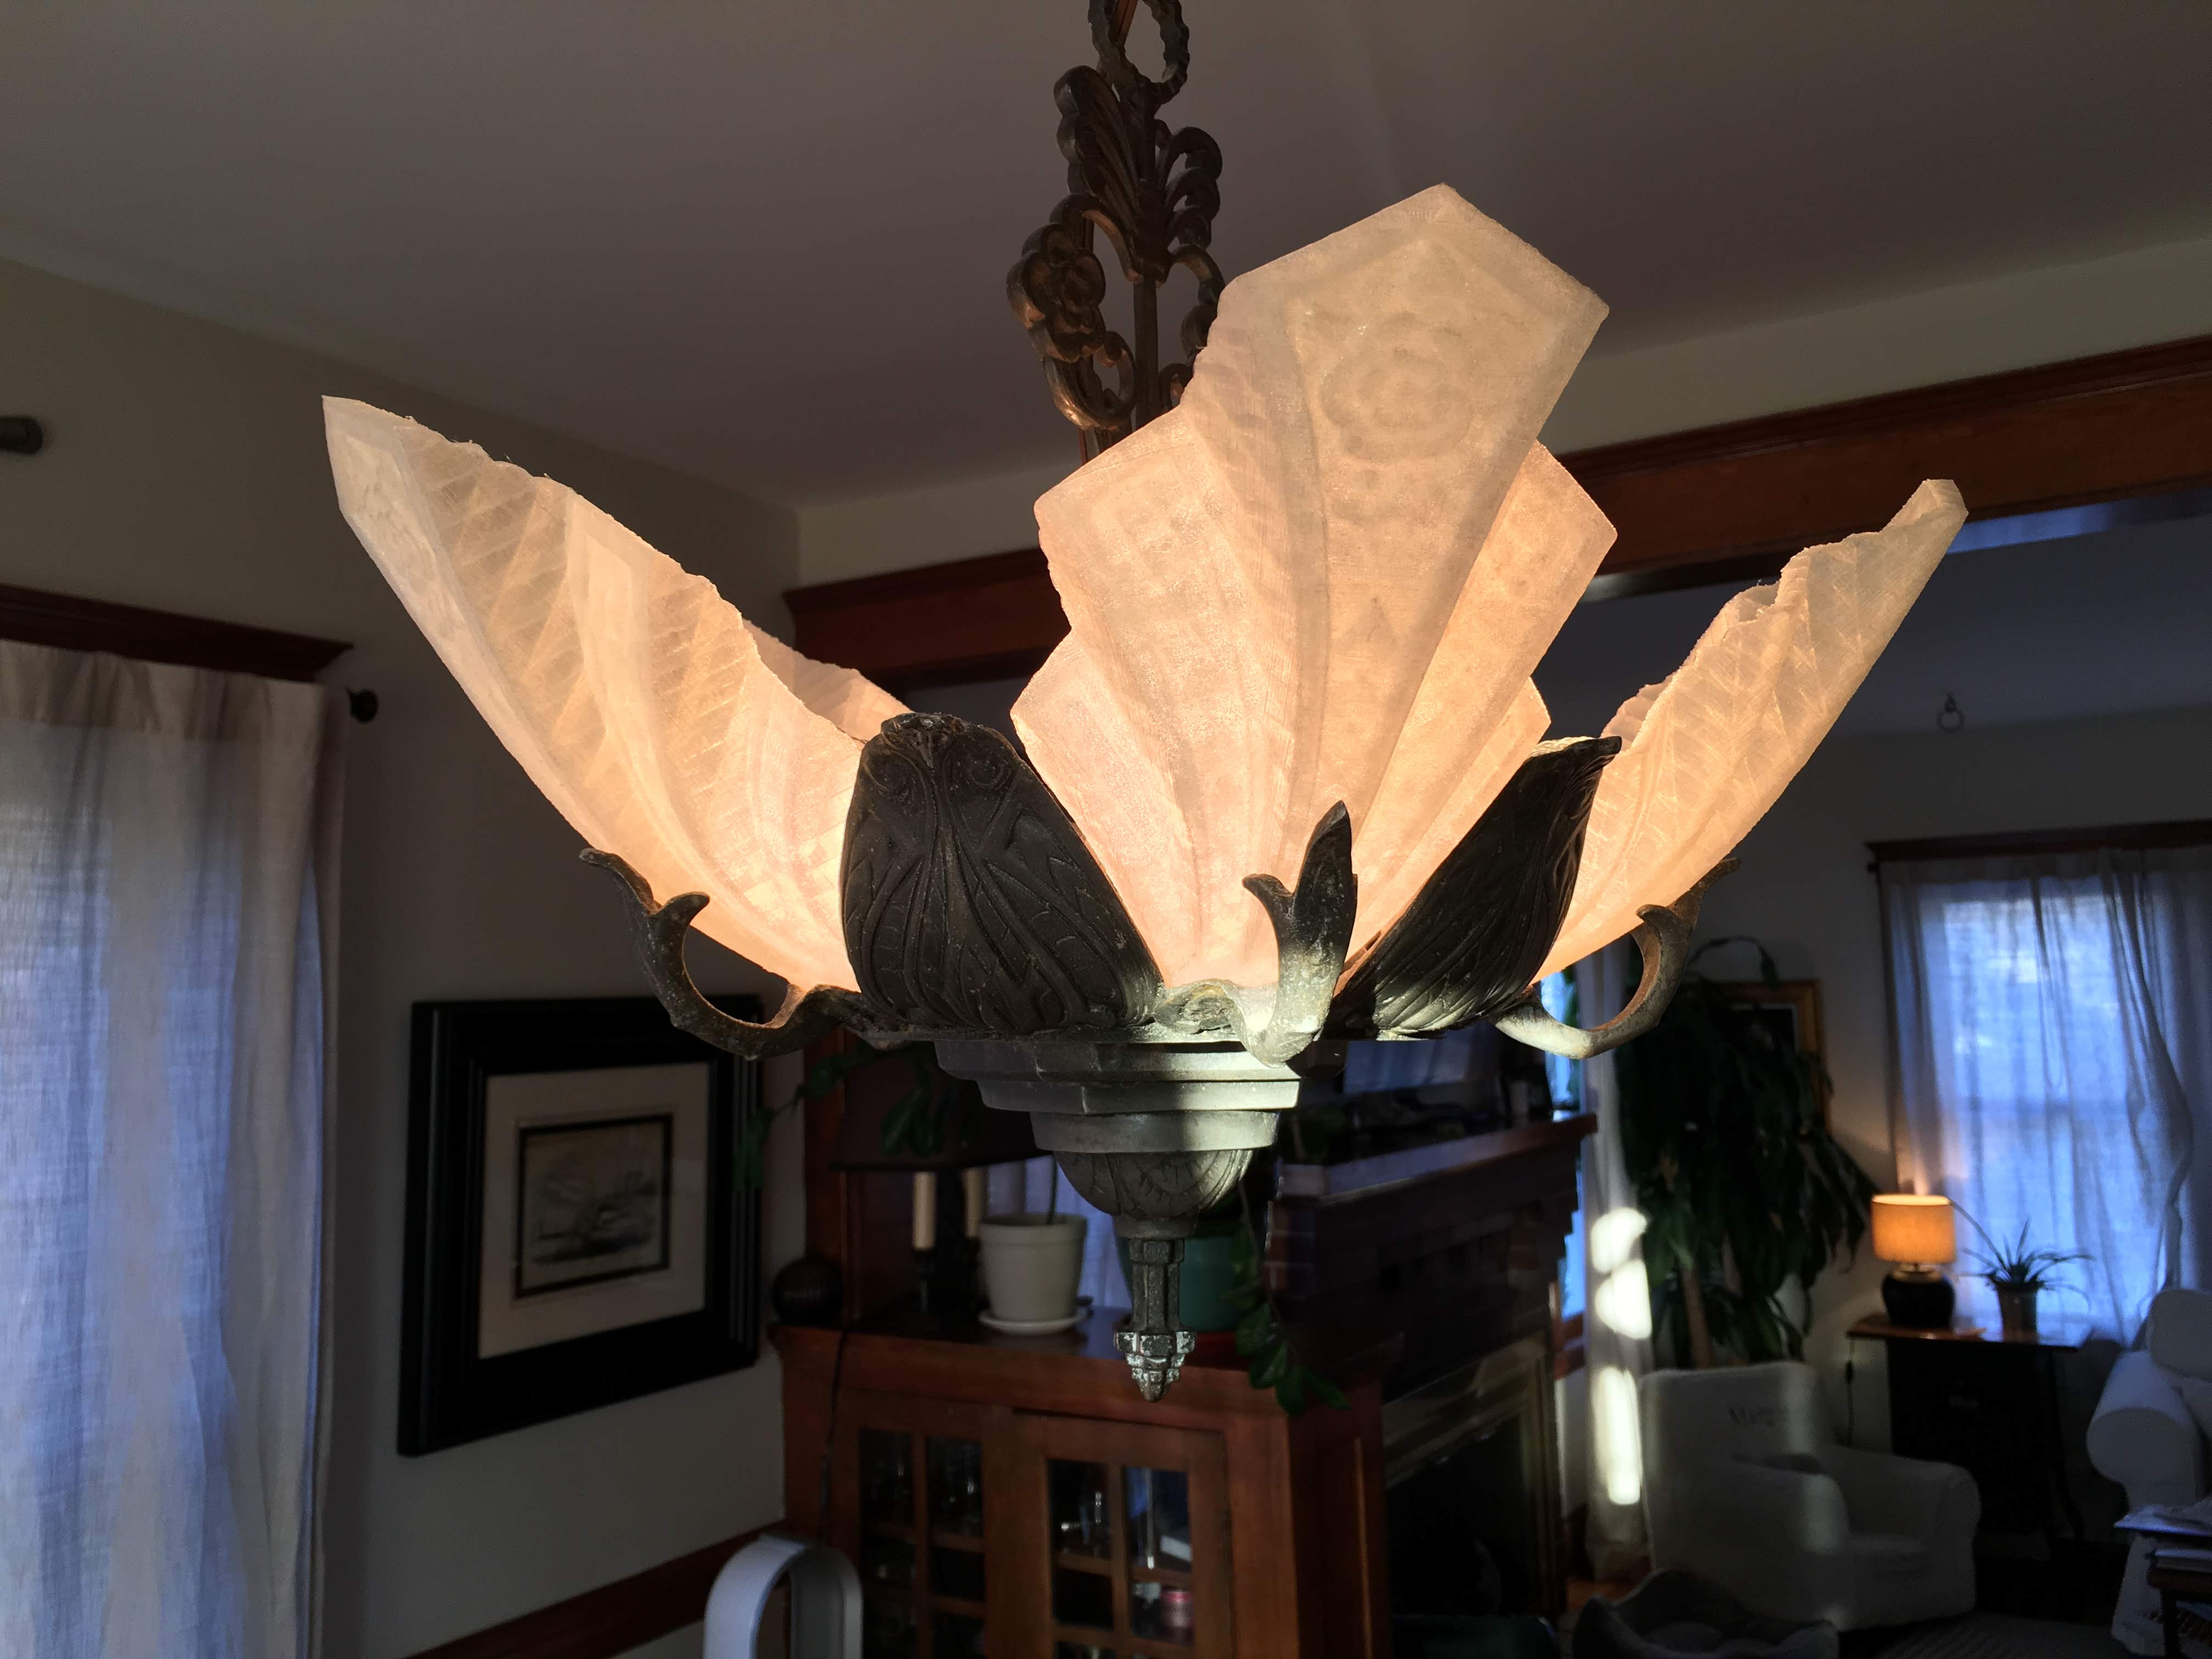
There is an antique lamp hanging in my kitchen that I managed to bump into several times when moving into my house. It was a very rare art deco slip shade lamp and was much beloved by my wife so I had removed each of its five glass shades and carefully placed them aside to prevent damage. Regrettably, in the chaos of our move, the box they were placed in ended up with the trash. After many unsuccessful attempts to find replacements, the naked lamp had continued to hang above our kitchen table as an ever-present reminder of my terrible blunder.
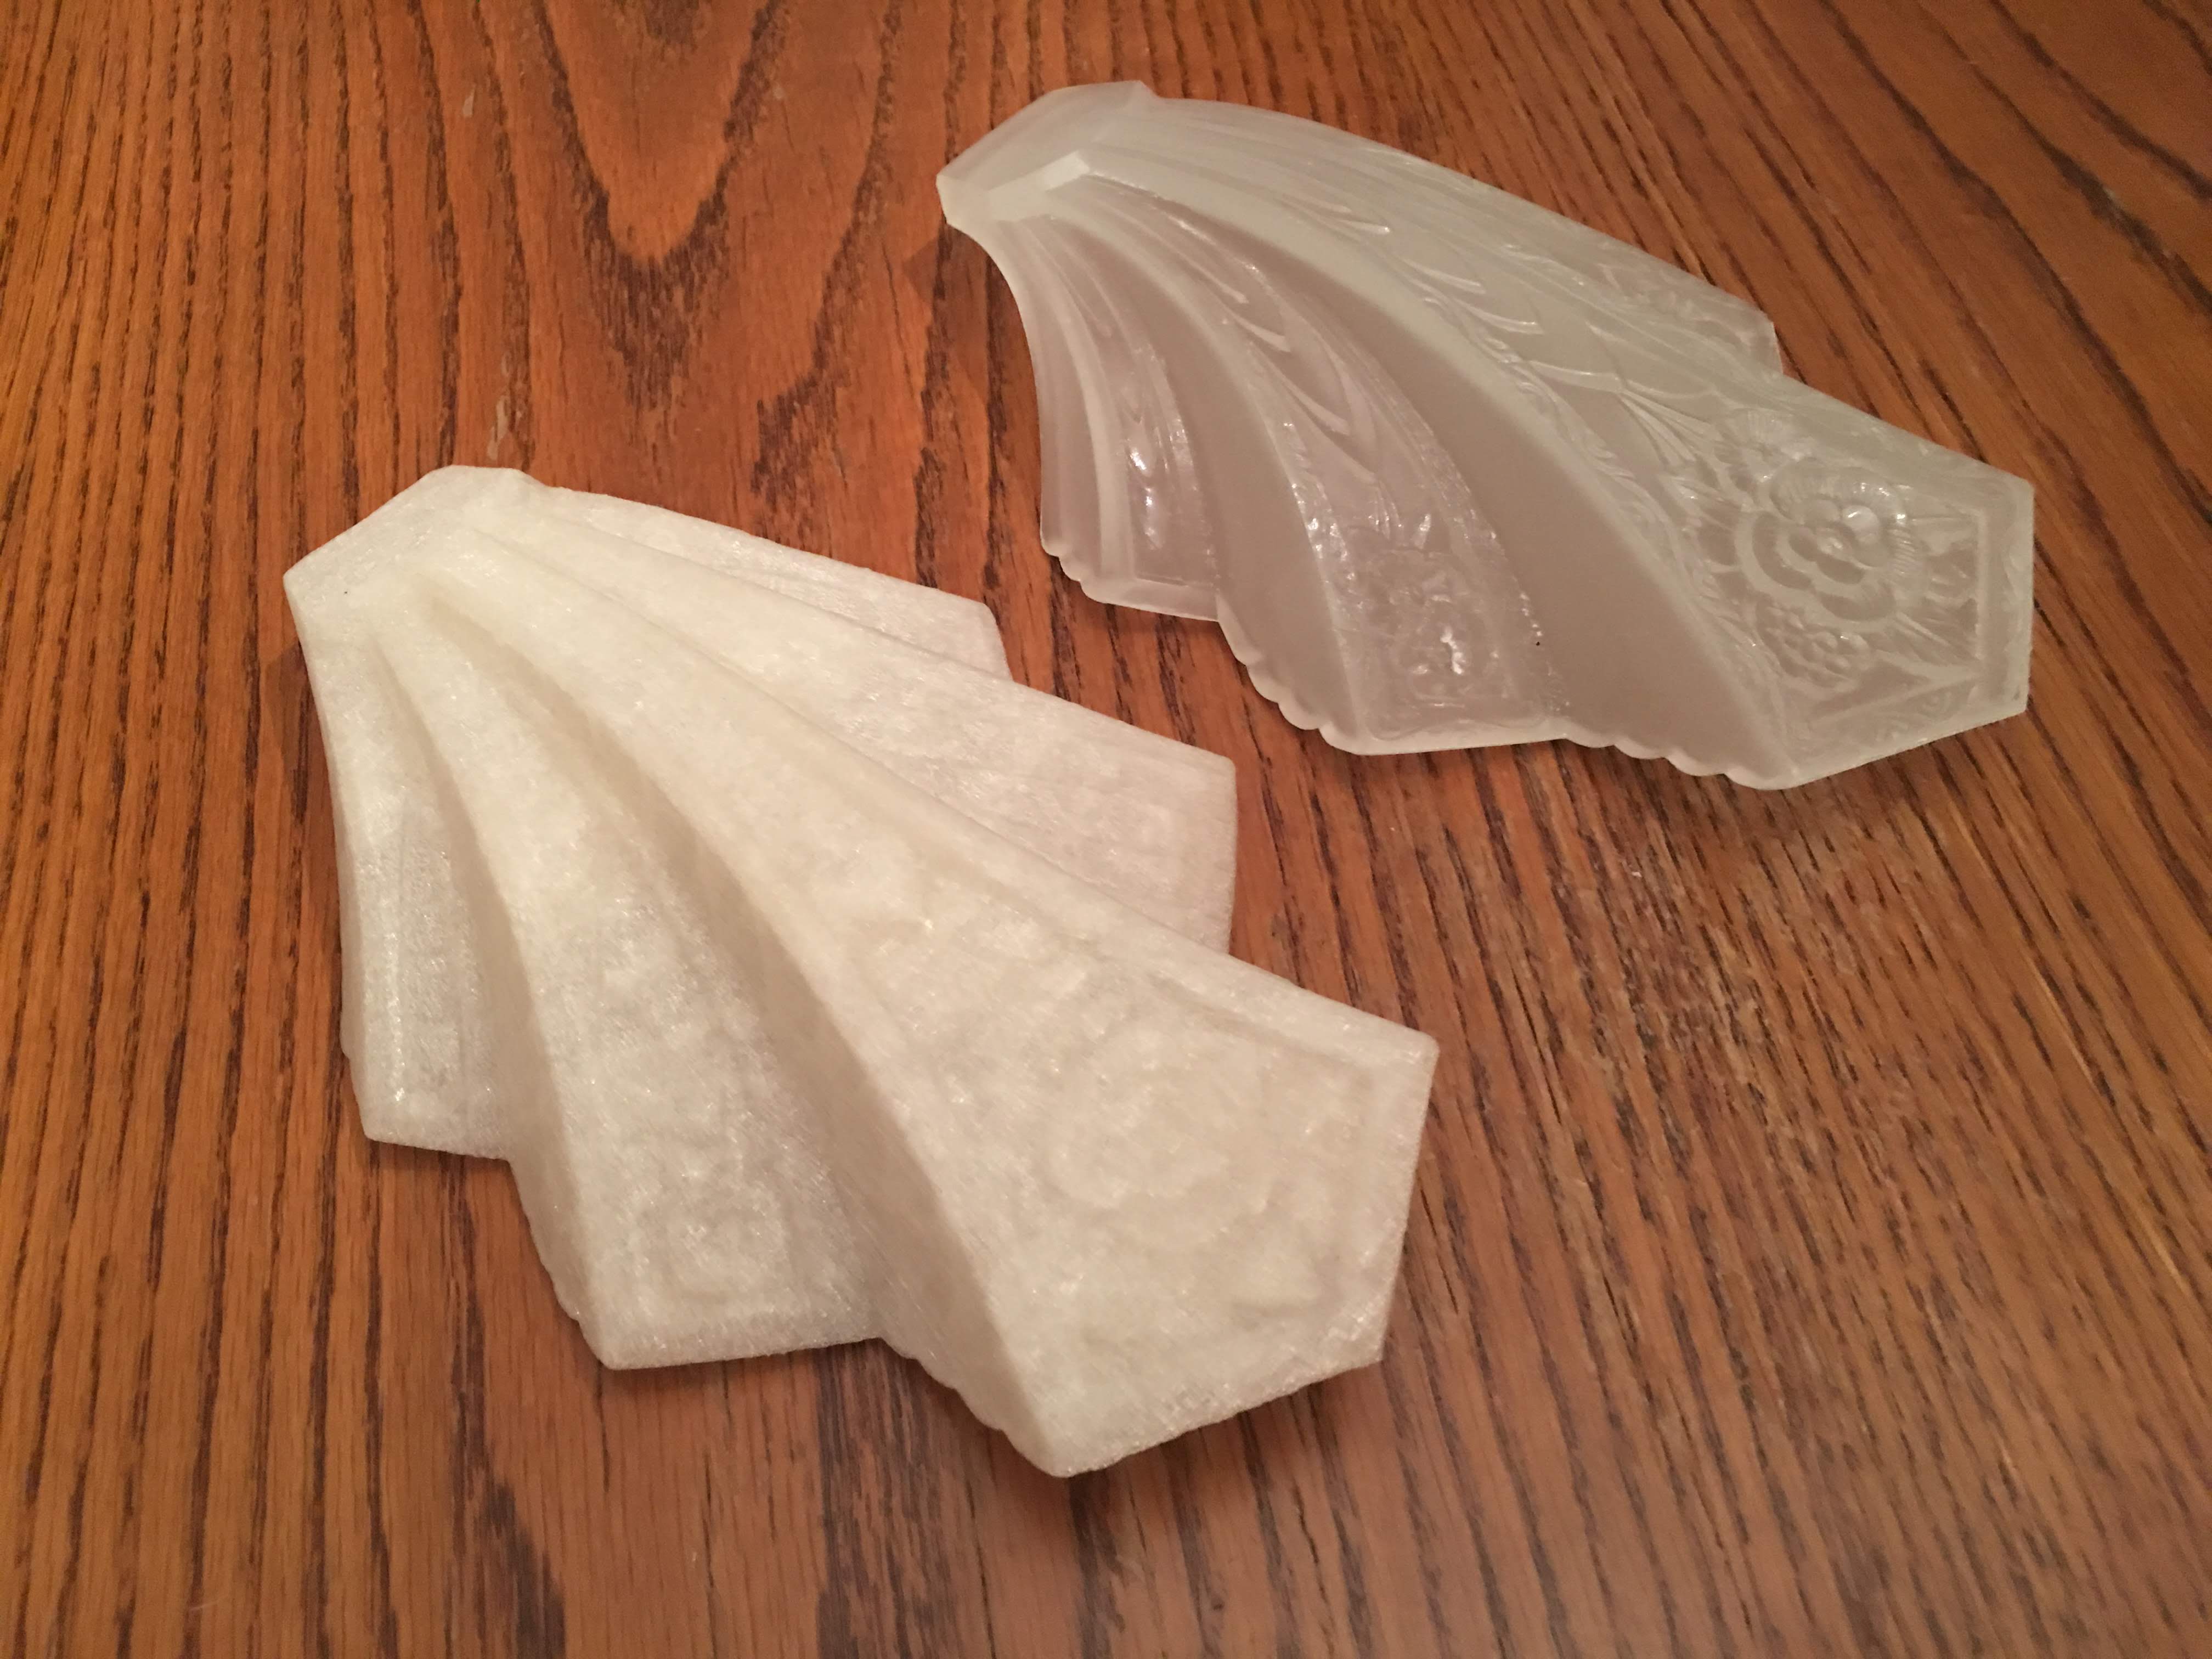
My workplace had recently purchased a large volume z18 MakerBot 3d Printer. I am always on the lookout for new things to print and so I decided I would try to print a new set of shades for the lamp as a Christmas present for my wife. Since I had matching shades on other fixures, I figured that I could capture one with photogrammetry and then print an exact replica using a special filament.
I’ve covered my photogrammetry process in a previous blog, but in the case of the lampshade, the big challenge I faced was capturing a translucent object. With a translucent or reflective surface, details shift between camera angles and its topology cannot be resolved by the software.
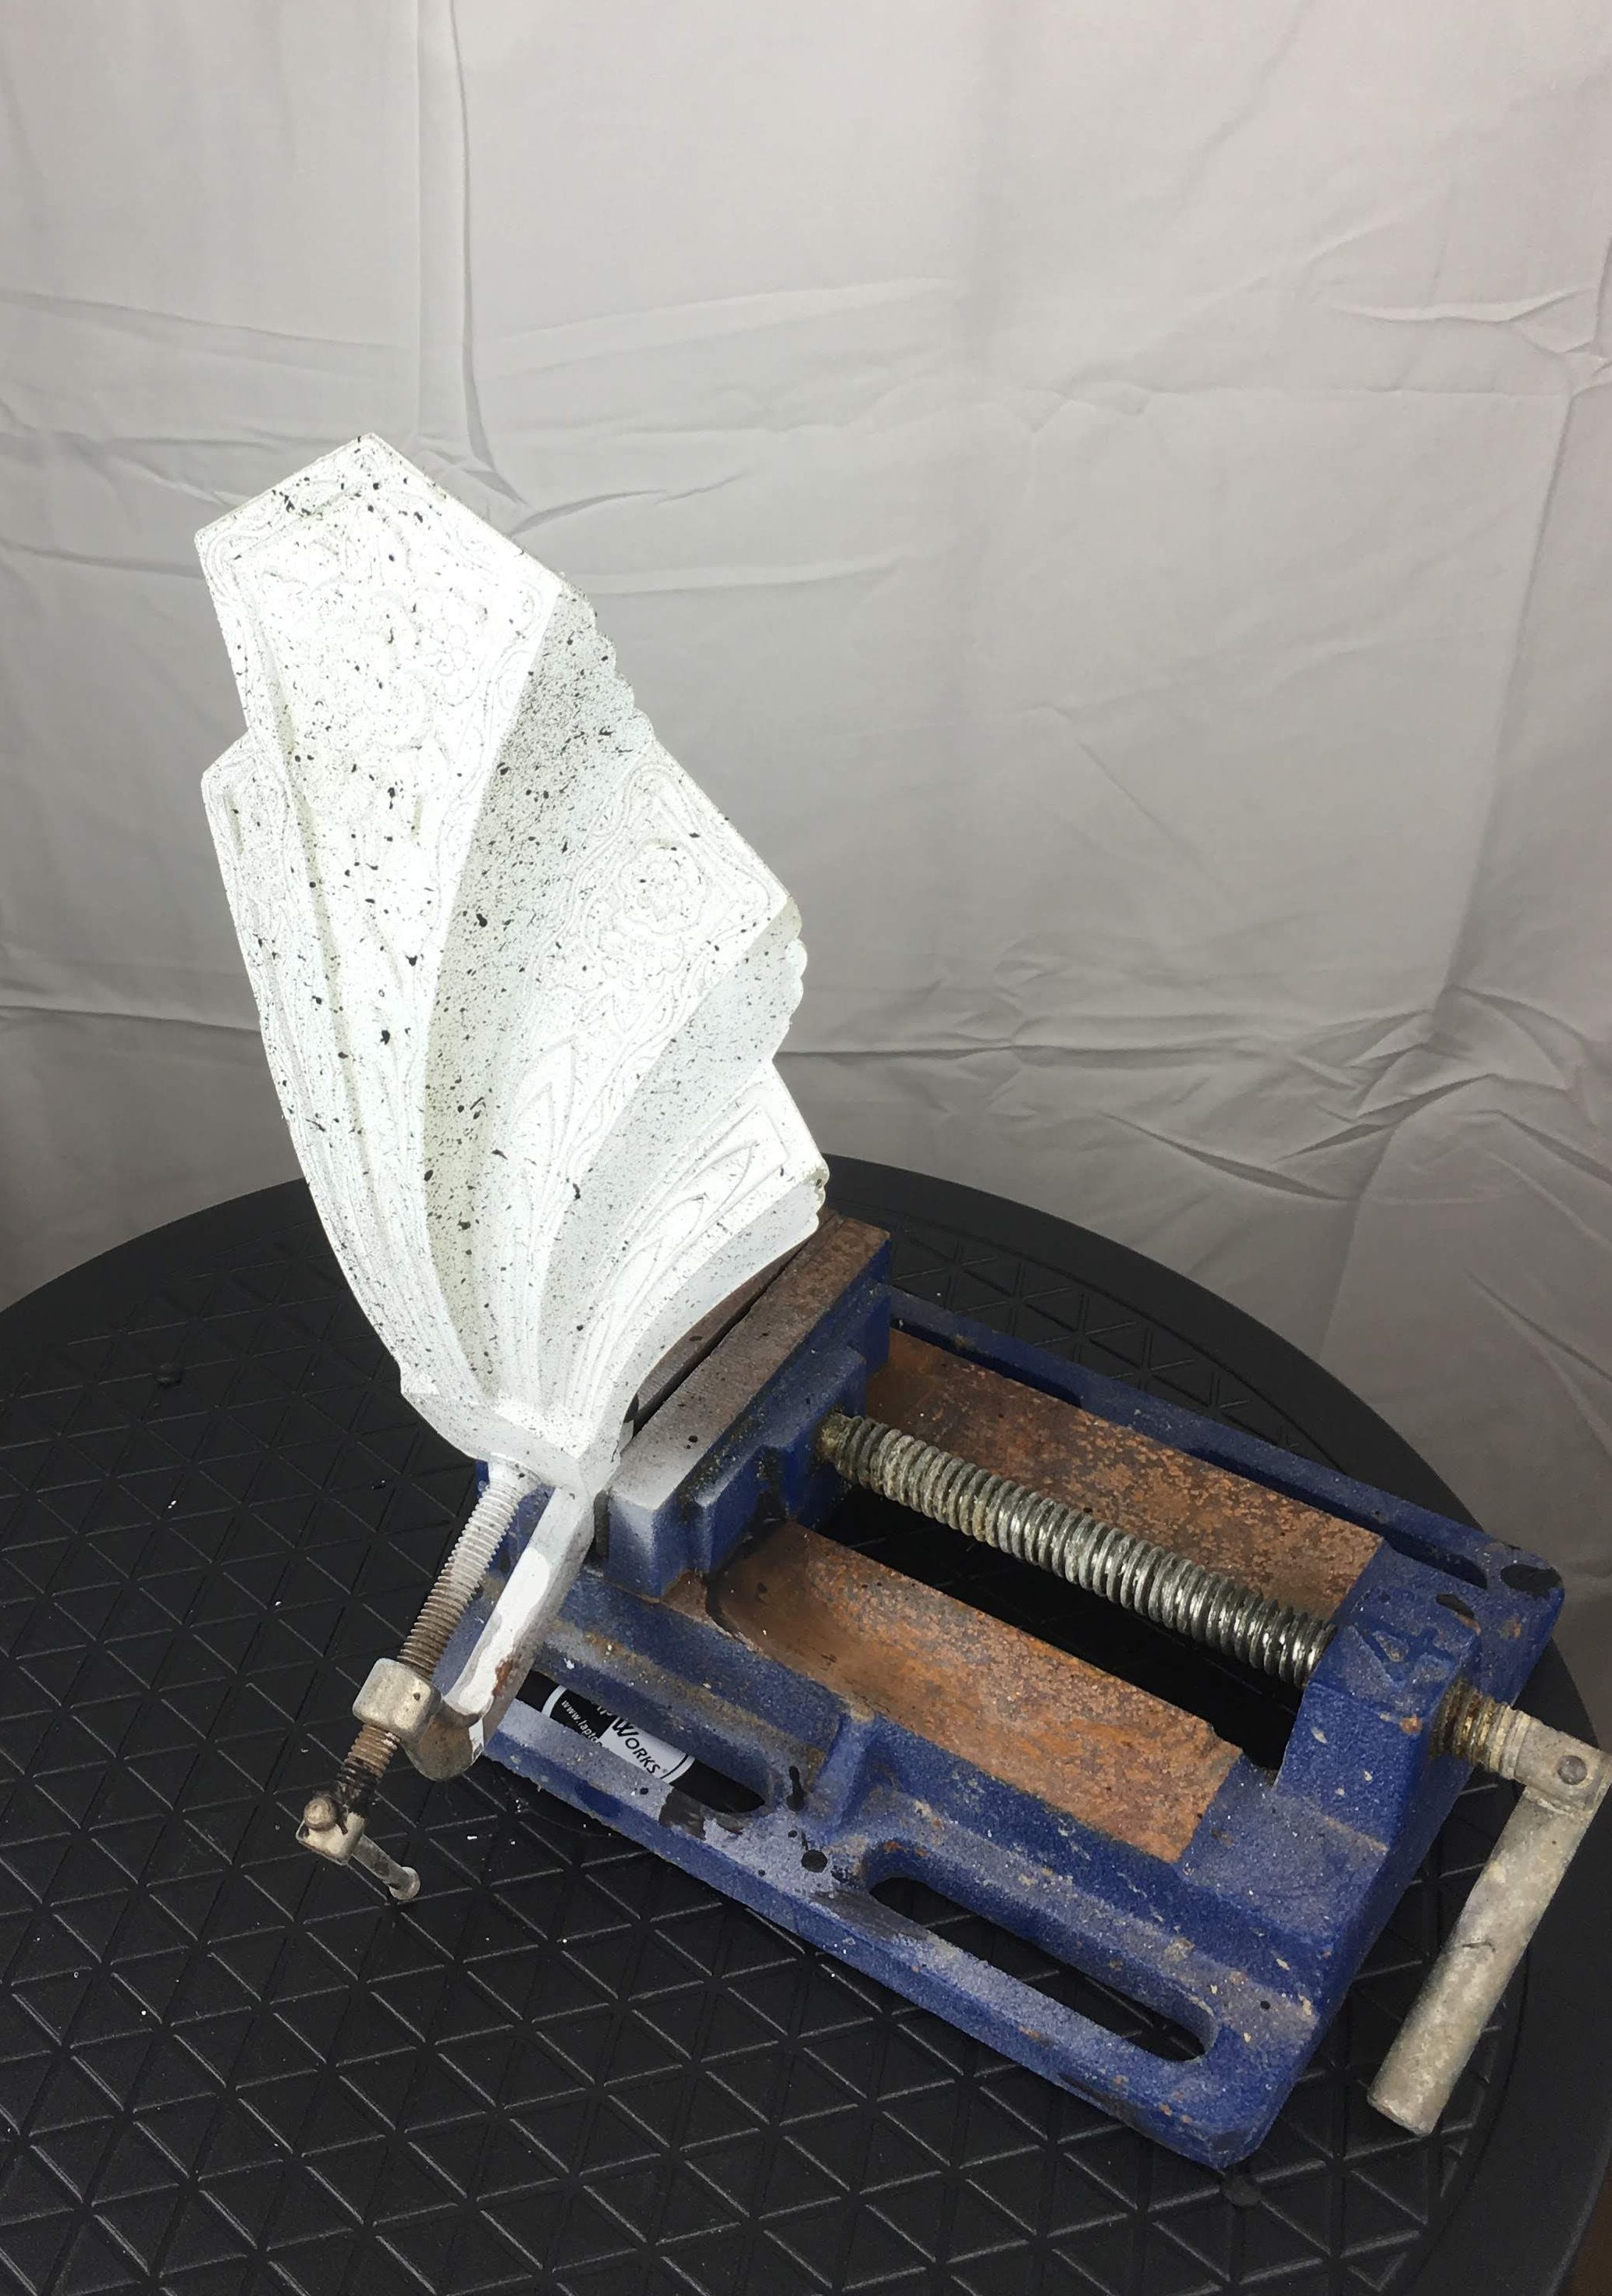 In order to address this problem, I sprayed the shade with a special developer that coats the object in a fine washable powder and then speckled the object by flicking it with a mascara brush. This produced a matt object with sufficient surface detail.
I shot the object from 3 static positions using a turntable and two diffuse fill lights. It was actually quite easy to reconstruct but I did spend a little extra effort removing the geometry for the clamp as well as smoothing out surfaces to eliminate a very subtle waviness. The final step before exporting for the printer was to decimate the polygon count and size the object based on a measurement of its physical counterpart.
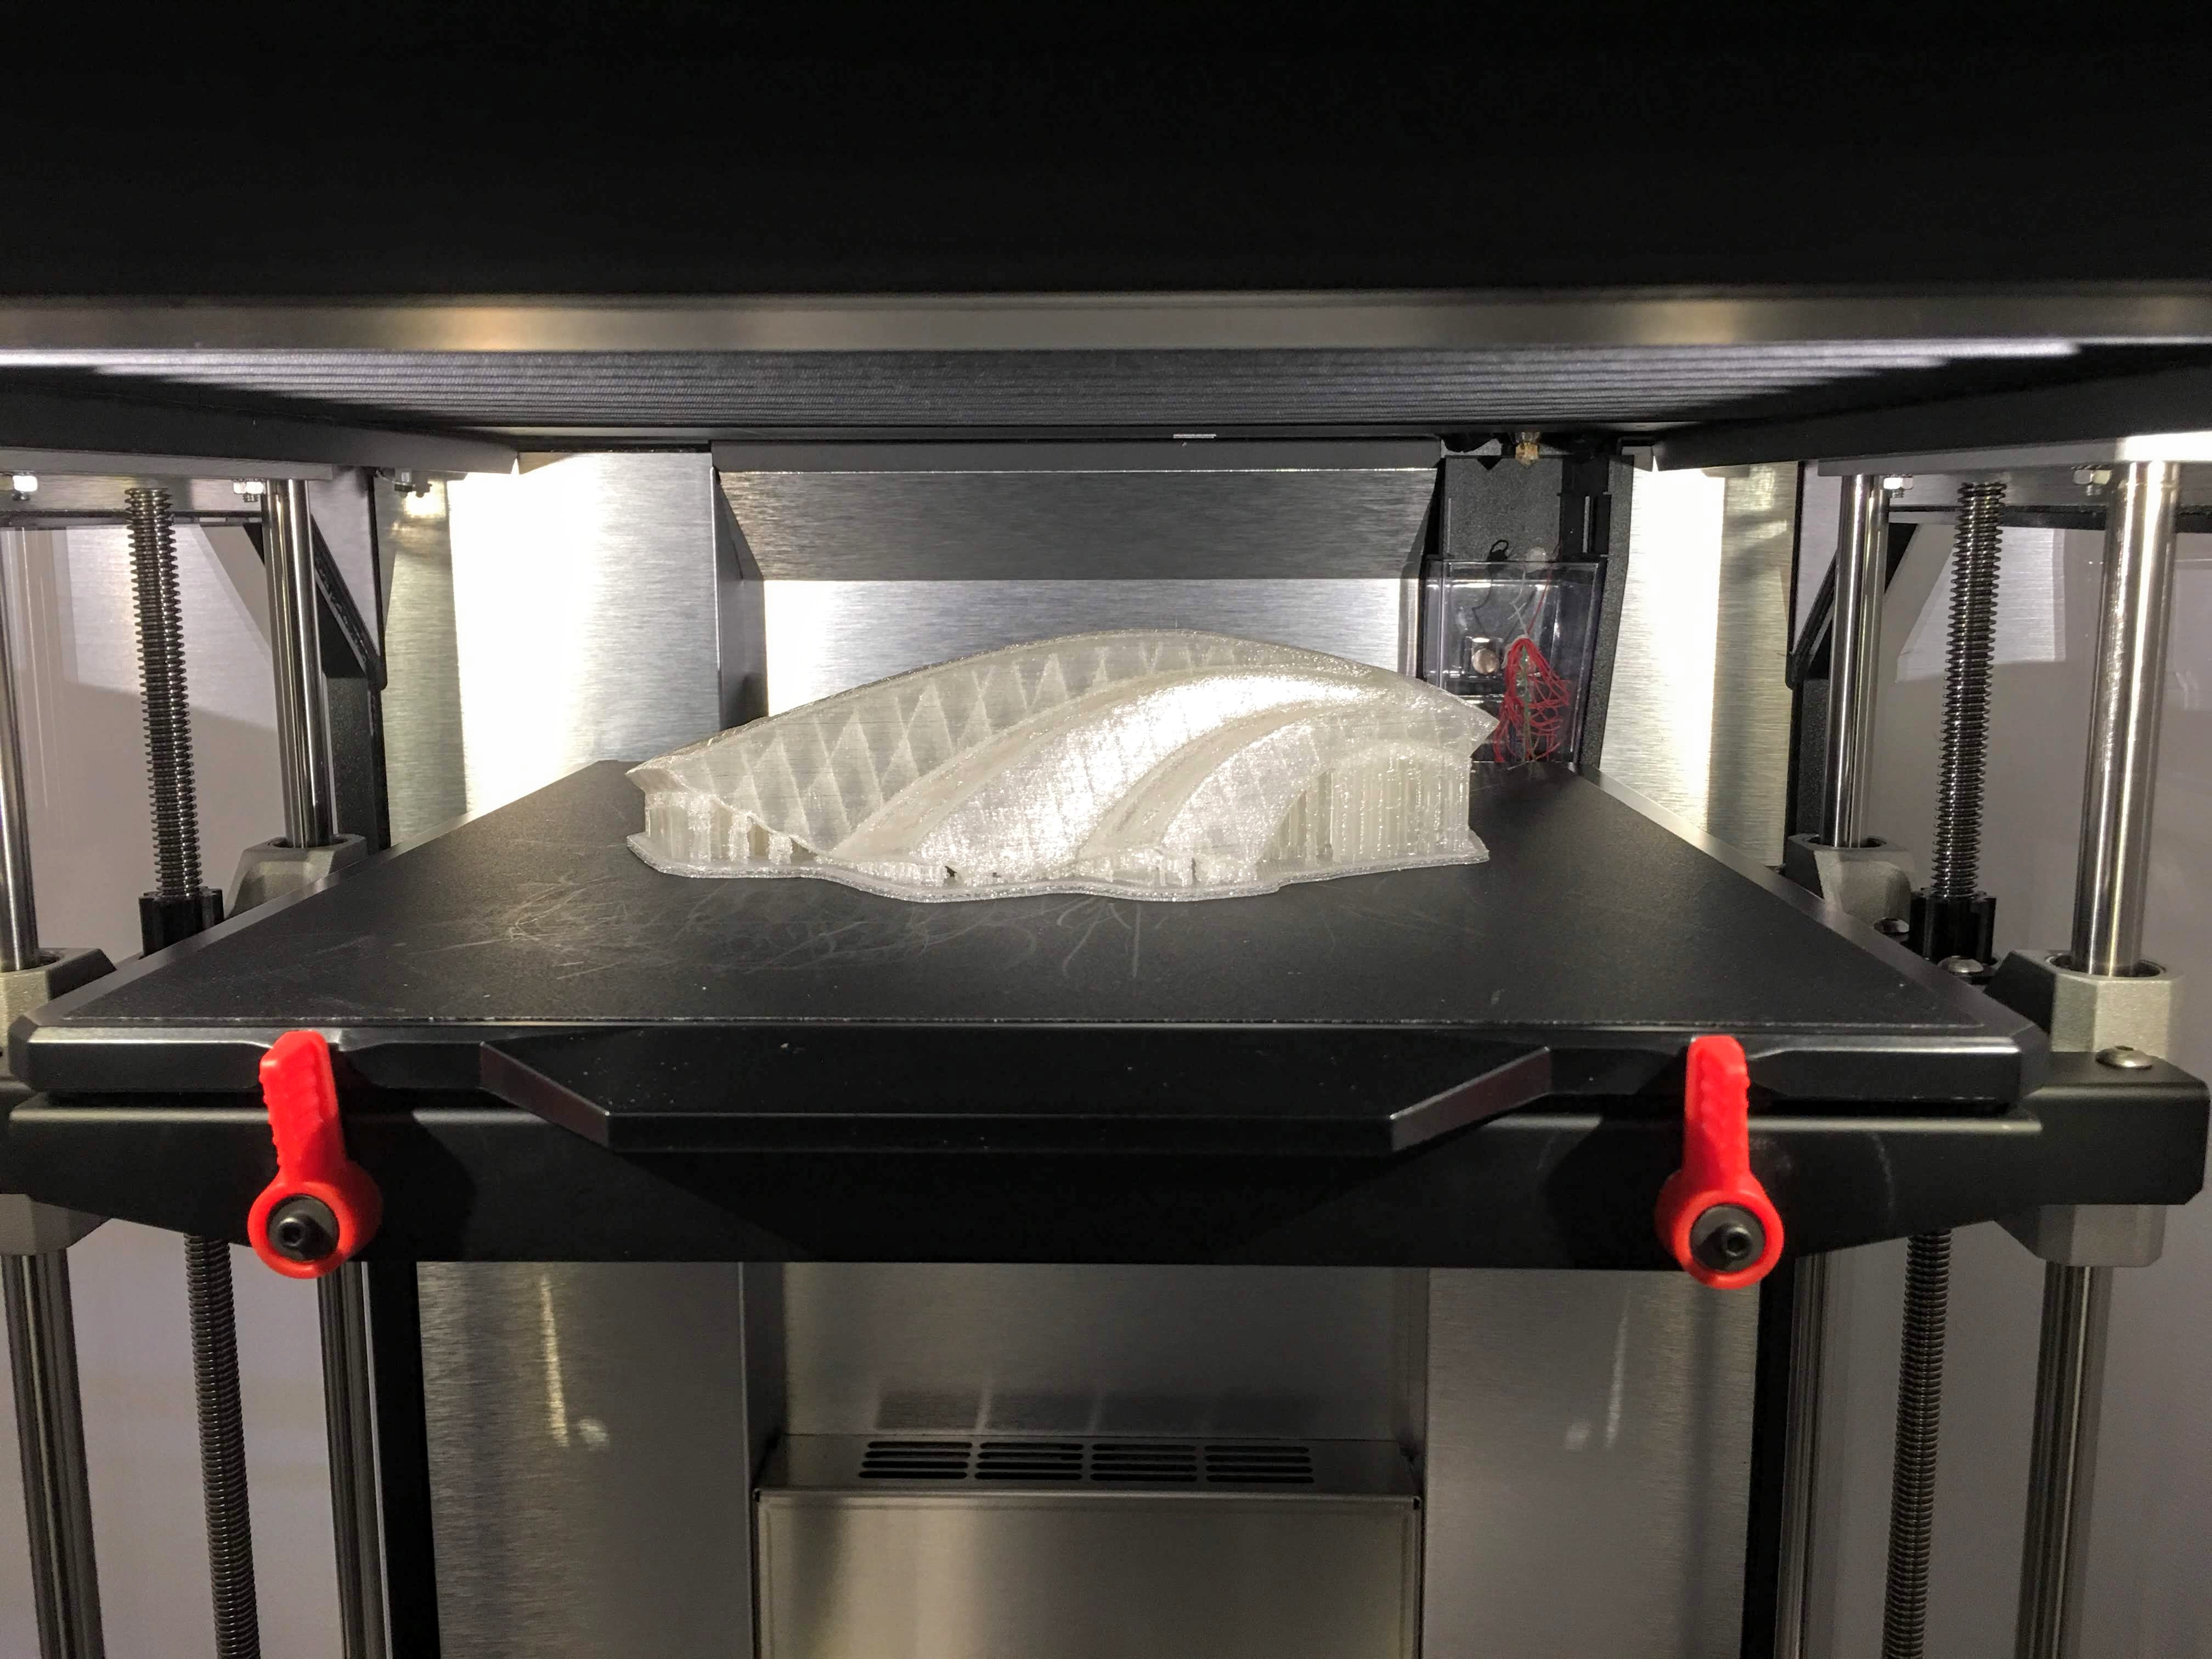
I printed the object using a translucent ‘natural’ color PLA filament. I had planned to experiment with various infill amounts – the density of the internal honeycomb pattern, but I found that my first print at 15% looked great. At 14 hours per shade, I didn’t have a lot of time for experimentation.
With PLA filament I knew I would never achieve an exact reproduction but most people never notice these shades aren’t glass and the light once again looks true to its former character.