Positioning and occluding objects in AR with photogrammetry

I’ve been working on a demo project that involves putting a pair of sneakers on a statue in a mobile AR app. This presented some significant challenges typical to this type of project – mainly registering AR tracking to the physical space and then precisely fitting the shoes around the feet and ensuring that they were accurately occluded by the legs.

First, here is a quick demo video. Apologies for the choppy frame rate. The screen recording process really hurts performance.

For this demo, I did not want to rely on a printed marker. Since the recent beta for ARKit 2 supports 3D trackable objects and a serializable world map, my initial hope was that I would be able to use the natural features in the environment for localization. But after a few tests, I could tell that this was not going to work well because the statue – cast in bronze, has minimal contrasting surface detail and a fairly reflective surface. Further, relocalizing to a saved point cloud of the surrounding environment was slow, did not work reliably in a dynamic outdoor environment, and lacked the precision required for this effect.

Read more Positioning and occluding objects in AR with photogrammetry
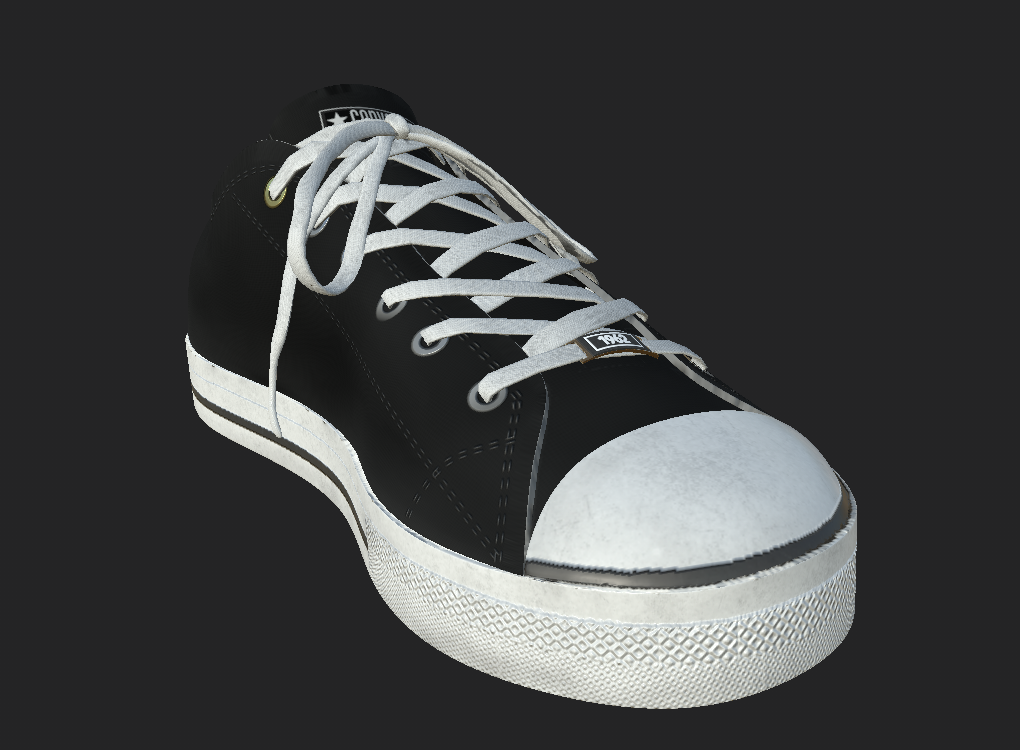
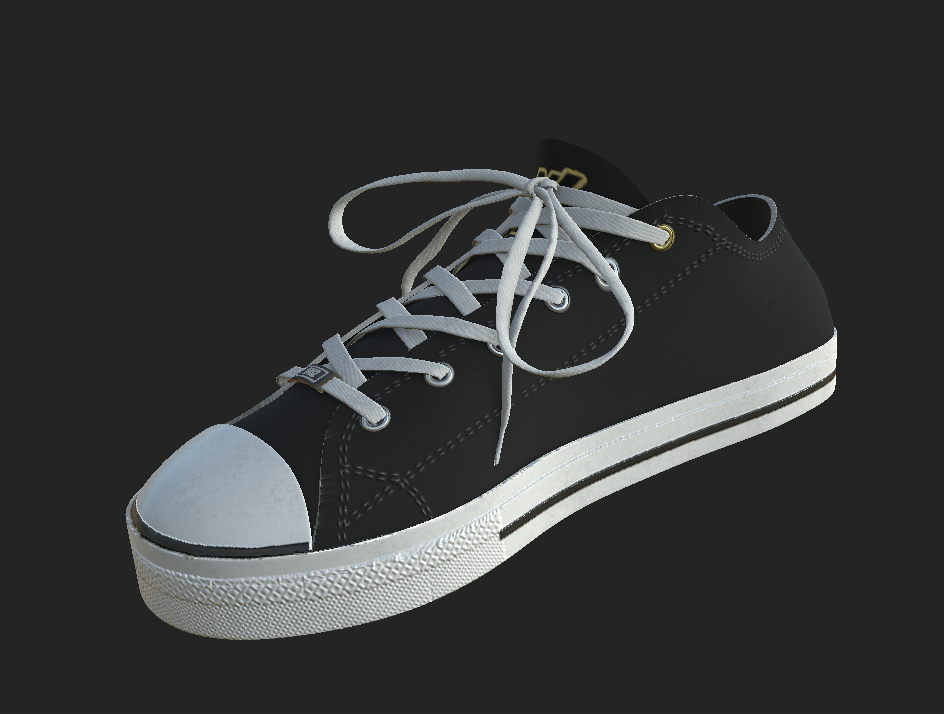
PBR sneakers in Substance Painter

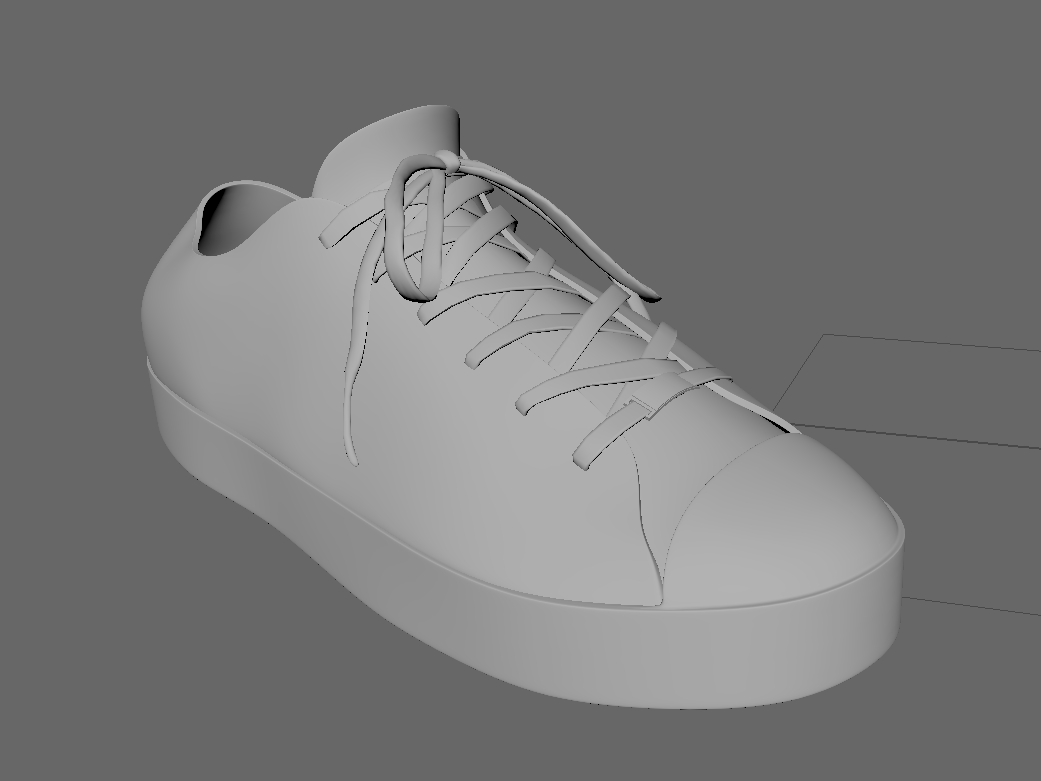
Substance Painter is one of my favorite tools. If you aren’t familiar it’s best described as Photoshop for 3D. It lets you procedurally and manually paint various surface maps that define qualities such as color, roughness, or how metallic an object is. It’s a tool I only use periodically and I’m far from a pro, but I was able to take this 3D model of a sneaker built by one of my colleagues and create a set of PBR textures to give it detail and make it look more photorealistic.

Overall I am happy with how this came out.  It was a difficult model to UV unwrap, which so far in my experience has been the most difficult aspect of texturing.  As result, there are some noticeable projection errors along the upper seam of the sole and the canvas edges.


AR try-on demo for jewelry

Here’s a Unity demo I created for a recent pitch demonstrating how we could use AR to try on jewelry. I used Vuforia cylinder targets and a simple script to sample and average skin tone in an attempt to cover up the paper tracker.

Along with what I believe is a bug with how Unity is handling macro focus mode (you’ll notice that autofocus is wreaking havoc)  I’m not entirely satisfied with how I am matching the skin tone. I’m trying to sample and average skin values along the edges of the marker. I’m using the surface normal of those sample positions to only include pixels in areas that are visible to the camera and that fall within a certain angle of view. It works ok, but with the variation in skin tone and how it changes with light angle there are color shifts that are far from convincing.  I think the better solution is to employ a fragment shader that displaces the live camera pixels – pinching them inward to obscure the tracker.

Hopefully, I’ll be able to revisit this soon so I can figure out how to get that working.